Turn your logo, photo or artwork into custom die cut stickers. Choose your size, vinyl and finish, then order any quantity with no minimums and free U.S. shipping.
Great Customer Service
Wholesale Pricing
Durable Products
Superior Quality
Custom Frame Designer
Why Choose Custom Die Cut Stickers?
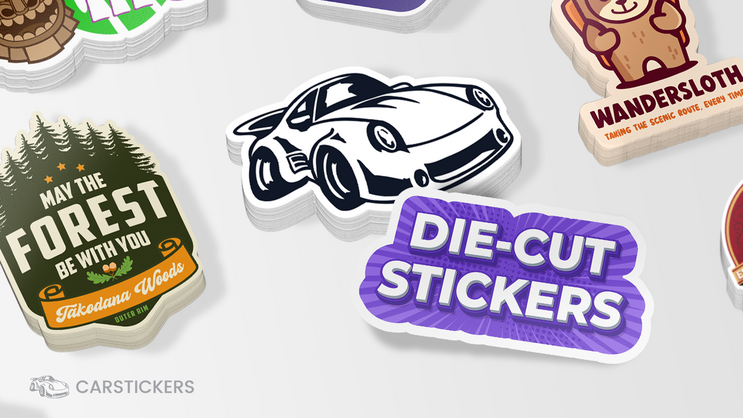
Give your logo, illustration or photograph a shape of its own. Custom die cut stickers follow the outer outline of your artwork, making them a useful choice for artist merchandise, branded giveaways and personal designs that don't fit a standard circle or rectangle. Print a colorful character, a business logo or an original drawing, then choose the size and material that suit where you'll use it.
What Makes a Sticker Die Cut?
Die cutting cuts through both the sticker material and its backing, so the entire finished piece follows your artwork's outer outline. You receive individual stickers with backing cut to the same shape, ready to hand out or include with a purchase. Your printed design can contain multiple colors, shading and photographic detail, while the custom edge highlights the silhouette of your logo or illustration.
Choose Your Vinyl, Adhesive & Finish
For full-color die cut vinyl stickers, start with Standard Vinyl and choose the adhesive for your project. Consider how long the sticker will stay in place and whether easier future removal matters:
• Light Adhesive: Choose this when easier future removal is a priority. It has the lowest adhesive strength of these three options and a two-year outdoor durability rating.
• Standard Adhesive: A general-purpose option with stronger adhesion than Light Adhesive and a five-year outdoor durability rating.
• Permanent Adhesive: Choose this for long-term installations where clean removal is not required. It offers the strongest adhesion of these options and a seven-year outdoor durability rating.
The outdoor ratings above help you compare these three Standard Vinyl options. Sun and weather exposure affect their lifespan; the surface and time in place also affect removal. For a project you expect to change later, start with Light Adhesive and prepare a clean, smooth surface before applying.
The Light, Standard and Permanent Adhesive options above include free matte or gloss lamination. Gloss gives your artwork a shiny finish; matte creates a softer look with less glare. Both help protect the print against water, UV exposure and scratches.
For an inside-window sticker viewed from outside, choose a Front-Adhesive option. Its adhesive sits on the printed side so the design faces out through the glass. The reverse-printed artwork includes a protective gloss laminate to help prevent scratches and other wear. This lamination is included for protection, so Front-Adhesive stickers do not offer a choice of matte or gloss finish.
When Are Die Cut Stickers the Right Choice?
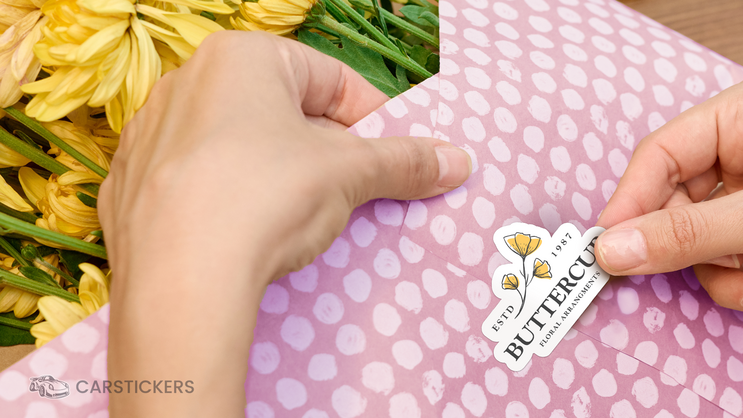
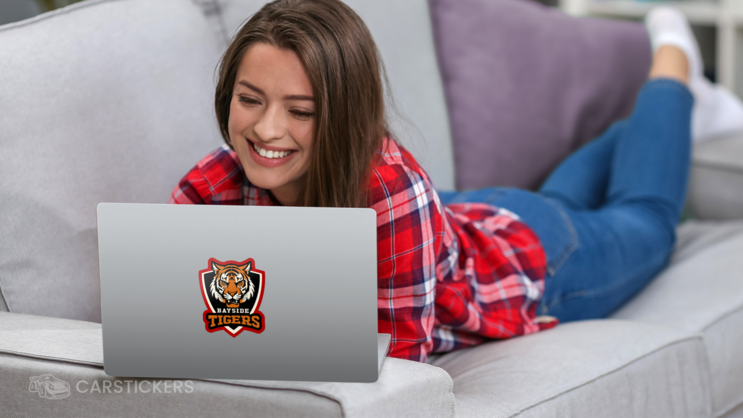
Use a custom outline when it adds something to the design: a mascot for a team giveaway, an illustrated character for merchandise, or a logo for equipment and packaging. On a laptop or water bottle, a recognizable silhouette can keep the focus on the artwork instead of a rectangular background.
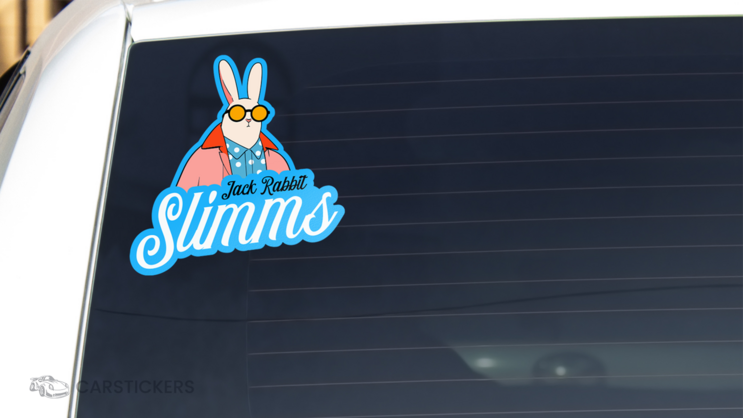
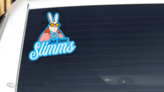
For vehicle use, display your logo or illustration on a clean, smooth vehicle panel or window. Measure the available space, choose a size that keeps lettering readable and position window stickers where they won't block your view. Use the adhesive guide above to match your plans for keeping or replacing the sticker.
Plan Your Size and Artwork
Measure where the sticker will go before choosing dimensions. A paper mock-up at the intended size helps you judge how much space the design occupies and whether small lettering is readable. A design that looks clear when enlarged on screen may need simpler details at a smaller printed size.
Start with a clear, high-quality original image. Vector artwork keeps its detail as you resize it; for a photo or other pixel-based image, use a file large enough for the intended print size. Check the outline as well as the picture. Simplifying very thin points or narrow connections can create a more practical finished sticker while keeping the character of your design.
Die Cut or a Standard Shape?
If your artwork fits naturally inside a familiar shape, circle stickers or another standard shape may be all you need. Choose die cut when the outer silhouette is part of the design.
A die cut sticker still has a physical sticker background within its outline. If you want separate printed design elements with no surrounding background after application, explore Printed Transfer Decals instead.
Create Your Custom Die Cut Stickers
Upload finished artwork or build your design online, then choose your material, dimensions and quantity. Order the number that fits your merchandise, event or business plans, with no minimums and free standard U.S. shipping.
How Die Cut Stickers Are Made
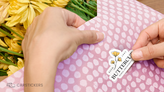
See how Die Cut Stickers are cut to follow the outer contour of your artwork or logo, creating a custom shape around the design.



 Great Customer
 Wholesale
 Durable
 Superior
 Custom Frame


